How to Give Clear, Actionable Feedback to Your Content Writers

So you’ve received the first draft of a blog post from your freelance writer.
Your next step is to share your feedback with them, but you’re afraid that:
- You’ll spend too much time doing it to get it right
- The writer won’t take action on your feedback the way you want them to
You may even think to yourself: “If I’m spending all of this time showing them how to write well, I may do the writing myself.” And that’s not a great place to be.
You want a feedback process that:
- Is straightforward, fast, and effortless for you
- Is actionable for the writer
- Nurtures and strengthens your relationship with the writer
If the way you’re currently giving feedback doesn’t include all three, this guide is for you.
Why? Because over the last few years, I’ve worked with dozens of content managers and editors. I’ve analyzed many of these projects to share with you the best guidance on providing feedback for your content writers.
Your writer wants you to trust them and see them as the expert
Some of the worst stories about working with freelance writers come from relationships that put the editor and their company in a superior position.
How does that happen? In my experience, it’s when the company sees the writer as someone who just delivers words in a document, rather than a highly skilled partner that brings a mix of writing and business-specific expertise to the table.
(A highly correlated fact: these companies usually pay abysmal rates to writers, but that’s a topic for another day.)
For your editorial feedback to work, your freelance writer should feel like they’re playing an important role in your content marketing process—because they do. Here are some ways to ensure that’s the case.
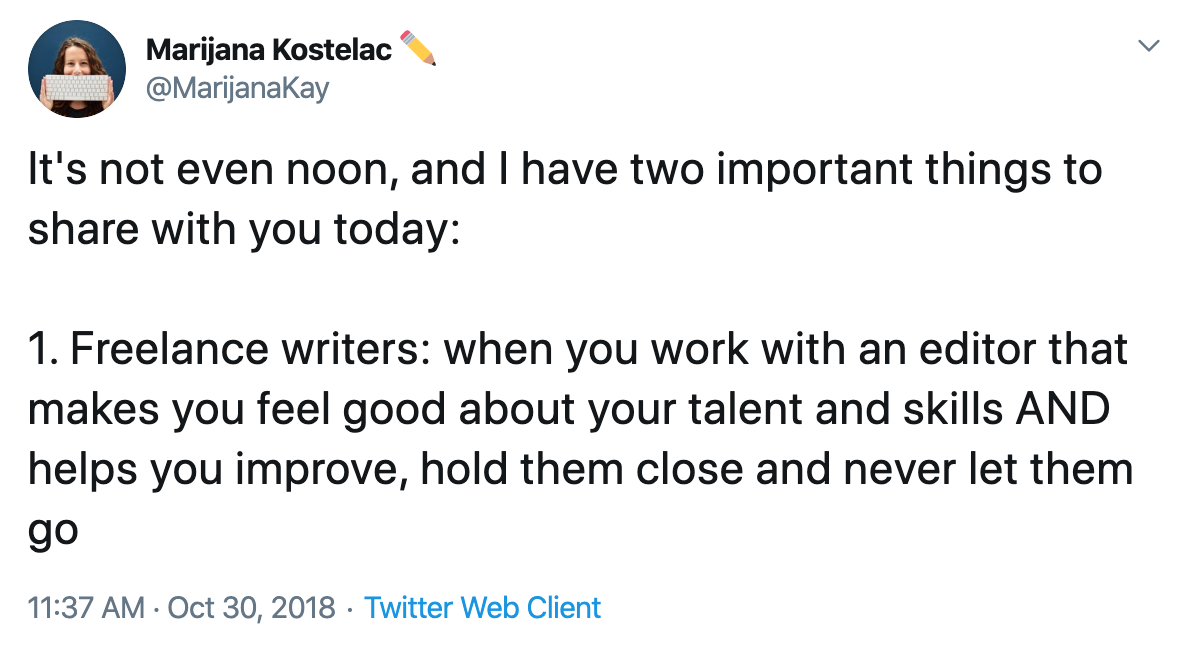
Don’t make your feedback personal
Writers can hold their words close to their heart. I say this because that’s what I do, even when I don’t see it at first.
But then feedback starts rolling in, and every comment or edit feels like a tiny stab in my heart.
I’m saying this not to dissuade you from giving feedback, but to remind you that writing feedback can feel personal. The best thing you can do? Provide feedback that isn’t about the writer, but about the writing.
In other words, remove emotion from it. Avoid remarks like “I don’t like this” or “this is bad/terrible” or any other subjective statement. The upcoming sections will help you with exact statements you can use.
Don’t prescribe fixes or do your writer’s work for them
Your writer has worked hard on researching, outlining, writing, rewriting, and editing their blog post. You’ve hired them to do so.
So if you think something they’ve written isn’t working, don’t:
- Prescribe the fix for it
- Redo their work to explain your point
Instead, communicate why you believe something isn’t working and let them use their skills to suggest solutions. If you have suggestions, share them, because it will help you get on the same page.
But if you rewrite their work and call it a day, they’ll never see why you thought that was necessary, and they won’t be able to apply that in their future work with you.
Be proactive in caring for your freelance writer
Remember: your freelance writer wants to be your equal and feel respected for what they bring to the table.
So even though it may feel natural to you to simply hand off assignments and wait for that first draft, take some deliberate actions to make sure they have everything they need.
One of my favorite tweets/statements about this came from my freelance writer friend Kaleigh Moore:
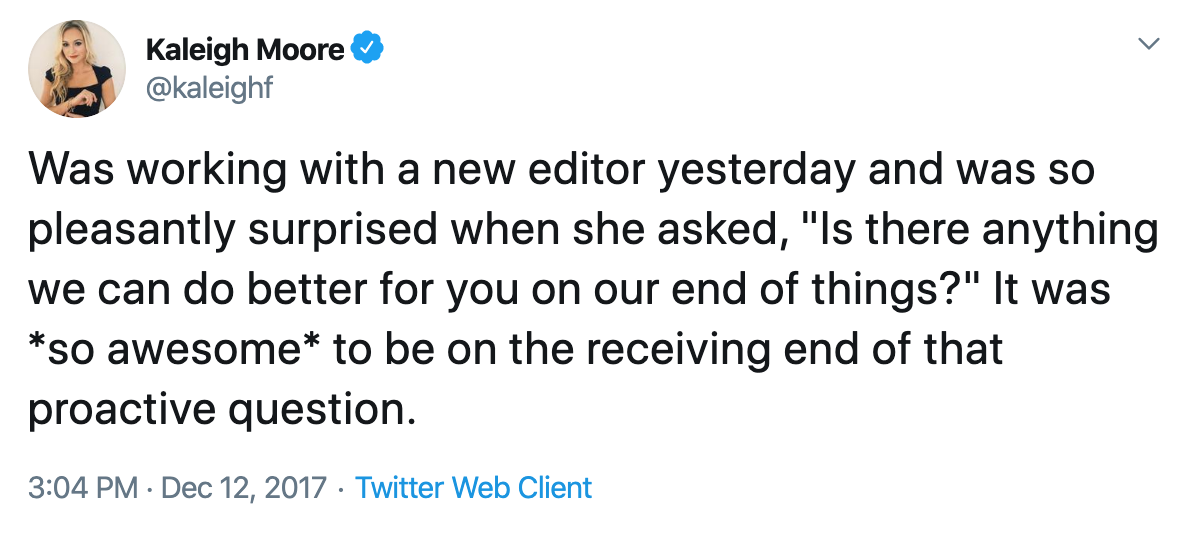
“Is there anything we can do better for you on our end of things?”
Use this simple question to find ways to make the entire process even better for your writer. Trust me—they’ll never forget you’ve shown that level of care.
Do the prework to lay a solid foundation
When you first get the funds to hire a freelance writer, it might be tempting to just tell them the topics you need them to write about and call it a day.
That’s the recipe for frustration. Hundreds of emails, calls, and Google Doc comments later, you’ll wish you had invested some time in prework.
Here’s what I suggest.
The one-off preparation: style guide
Hear me out: with a style guide, even the most generic one, you’ll save yourself a lot of headaches.
Without a style guide, your writer will have no framework for details like headline capitalization, using numbers, punctuation preferences, and so on. Their best option will fall down to analyzing your existing blog posts—and that will only work if they’re consistent with each other. Even then, it wastes your writer’s time.
Use a style guide to define things like:
- Following the AP Stylebook vs. The Chicago Manual of Style
- Capitalization of headers and subheaders
- Writing in first, second, or third person
- Using apostrophes, colons, en (-) and em (—) dashes, Oxford comma
- Usage of bullet points
- Percentages, time, dates, and numerals
- Referring to your company and product names
- Link and image attribution
If you need inspiration, check out Mailchimp’s style guide.
Along with sharing your style guide, you can also share other resources with your writer, such as:
- Tools you find most useful when writing or editing (such as ProWritingAid or Grammarly)
- Your best-performing blog posts
- Comments, tweets etc. about your content you’ve collected from your readers over time
The project-by-project preparation: a content brief
If you give two equally talented, experienced writers an assignment on the same topic, but only give a content brief to one of them, you’ll end up with two significantly different pieces of content.
And although they both might be good, well-written pieces of content, only the one you briefed will also:
- Target a specific focus keyword
- Speak to the right stage of the customer journey
- Mention the right product’s features where appropriate
- Link internally to the right pages
- Link externally to highest-quality pieces of content
- Have the right call to action (CTA)
- Have the ideal word count
The briefed writer will also likely spend less time wandering around the topic and researching everything there is to know about it. The ‘restriction’ of your brief will help them focus on the right things.
In other words, a content brief will direct your writer to the “what” of their assignment, but it will still give them free reigns and creativity on the “how.”
I truly don’t believe there’s such thing as a writer’s block, at least when it comes to business-specific blog post writing. There’s only an unbriefed writer.
To brief your writers, create a simple, one-page Google Doc template and duplicate it for every new project.
In this template, list the following sections:
- Blog post title suggestions
- Blog post sections (what should this blog post include/cover?)
- Focus keyword
- Target audience
- Customer journey stage
- Product features to mention
- Internal links
- External links
- Competitor articles to reference
- Content upgrade
- Word count
- Call to action
Under each, leave some space so you can fill it out every time you’re giving a new assignment to a freelance writer.
Relationships are important
This is worth repeating: build a relationship with your freelance writer.
I have a few clients I’ve been working with since 2018 on a regular basis. That wouldn’t have happened if we hadn’t worked on building rapport and deep trust from the very beginning.
Here are some ways to make this happen:
- After you’ve already started working (so process, fees etc. are already out of the way), schedule a call just to get to know each other and freely chat for 20 minutes
- Connect with them on social media platforms where they tend to share their work and share/support it
- Keep an open and supportive line of conversation, even at times you don’t have an active project with them
The last point is a big one. When times of uncertainty come, your freelance writer will feel safe enough to share it with you if you think you can help, or even if they just need you to understand them.
For example, I’ve had times when I had to deal with personal issues like family bereavement or my own health challenges, and instead of pushing through and burning out, I was able to take a break by communicating the current situation with my clients.
Plus, knowing that this is the nature of a working relationship also just makes the work more enjoyable overall.
The 7 rules of efficient feedback
With all that in mind, let’s jump into the actual feedback-giving process.
Rule #1: Read the whole thing first
To be efficient is to “achieve maximum productivity with minimum wasted effort or expense.”
In other words, there’s a way to prevent repetitive tasks both for yourself and your writer. This will simplify and streamline the entire process.
It’s simple: read the entire draft before leaving a single comment. If you feel the urge to comment or “fix” little things as you go, resist it.
This will help you achieve a few things:
You can solidify your feedback on a pattern. For example, you capitalize subheadings, but your writer forgot to do so. Instead of commenting on all of the subheadings as you read through, you can just comment on one and remind your writer to review all of them.
You won’t get ahead of yourself. For example, you see an opportunity to link to another blog post of yours, so you leave a comment to suggest so. Then, just a few paragraphs down, you see that’s exactly what they’ve done.
Basically, reading the draft from start to finish first will likely help you leave fewer comments—and make them more straightforward.
Rule #2: Work in ‘suggesting’ mode
Leaving comments is one way of leaving feedback. Working in ‘suggesting’ mode within Google Docs is another one:
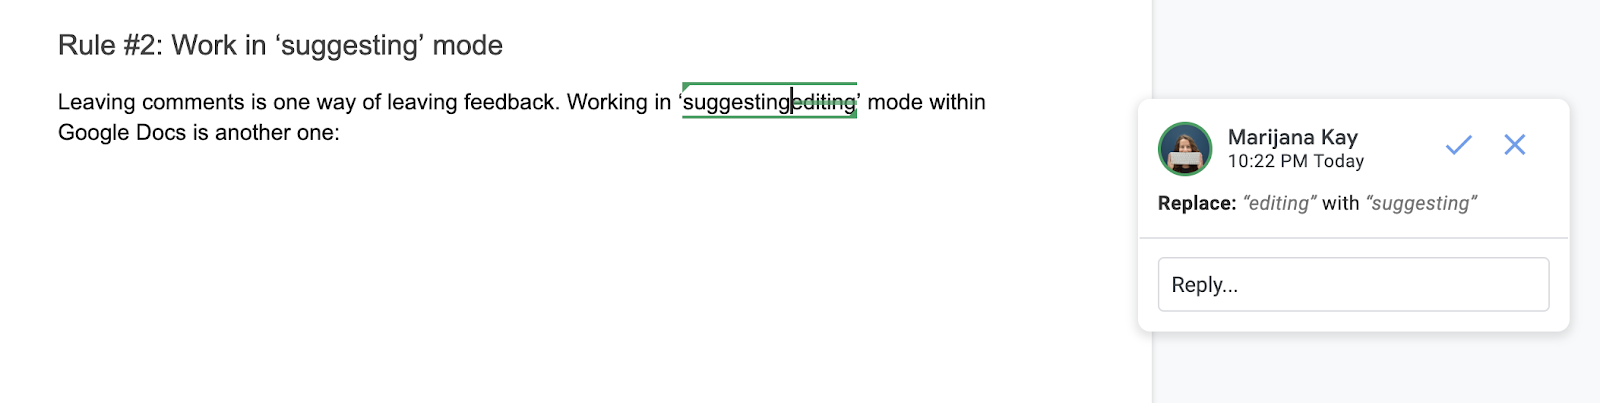
Here’s the thing: if you’re making your changes by simply, well, changing the words or sentences in the draft, you’re not really providing feedback. You’re redoing your writer’s work.
I believe this is okay if you’re fixing a small typo or a spacing issue. Anything more than that, and you’re better off make it a suggestion.
Why? Because your writer will be able to see that change without going on an investigative mission (i.e. look through the version history of that Google Doc).
From there, they’ll often be able to understand why you’ve made the editing suggestion. For example, you have:
- Added an internal link at a relevant spot, or added UTM tags to a link they’ve added
- Shortened or simplified a sentence
- Added an inline CTA
- Replaced a word with its synonym
In many cases, your writer will see your suggestion, nod their head in agreement, and click the checkmark to accept it. Your recommendation will make sense because it clarifies a point and relies on solid writing practice.
But sometimes, that won’t be the case. That’s where the next rule comes in.
Rule #3: Explain why you’ve suggested something
Let’s say you’ve deleted or rephrased a paragraph your writer wrote. If someone from outside your company saw both versions, they wouldn’t be able to say one is better than the other—both look good.
This means your writer will think the same thing, and this is where your clarification is helpful.
I’ve mentioned this in the “don’t make your feedback personal” tip earlier—it comes down to your objective reasoning for suggesting a change.
So instead of saying “I don’t like how this sounds” or “I don’t like this word,” here are better phrases you can use:
- If you rephrased something: “This sentence sounded more corporate than our usual messaging.”
- If you moved some text around: “The order of these two paragraphs could be switched around for a better flow of information.”
- If you’ve cut some words/sentences: “You’ve covered this in more detail later, so a shorter sentence to introduce the concept here may suffice.”
Specificity and transparency are key.
Rule #4: Ask for a suggestion when you don’t have one
Sometimes, you won’t have a direct suggestion. But you’ll know that a certain section needs some work because it’s too long, too short, feels clunky, or needs more specificity.
When this happens, the same approach applies as I mentioned earlier: don’t prescribe fixes and redo the writer’s work. Make them aware of it and ask for their opinion and recommendation.
Remember: You’ve hired your writer for their expertise, so let them use their skills to solve the issue you found. Simply explain it as best as you can and ask for their input and potential solutions.
This action alone will deepen your professional relationship with your writer.
Rule #5: Whenever possible, illustrate with an example or a reference
If you want a section to look and feel a certain way, but can’t quite put your finger on it as to how to make it happen, use examples and references to paint a picture.
These can be:
- Your previous blog posts
- Your product pages and other owned assets
- Competitor blog posts
- Examples from other industries
Use the comments to copy/paste the example and link to the original whenever possible.
For example, you want your article to cover a list of steps in a process. Your writer has covered them in a shorter format, as a simple paragraph with bullet points, but you believe more depth would be valuable to the reader.
In this case, you can leave a comment that conveys this and add a link to an existing blog post of yours where a process was covered in a detailed way you’re looking for. Your writer can then use it as inspiration for formatting and structure.
Rule #6: One person to review at a time
Ideally, there will only be one person on your side providing feedback (since you’re reading this, it’s probably you).
I say this because us writers rely on you to serve as the expert on your company, products, and audience. When more heads get involved, even the slightest differences in the way you do things compared to other people in your company could get in the way of efficient editing.
However, if there absolutely must be more than one person involved, be sure to not all review the piece at the same time. Rule #1 applies here, but on a larger scale: if you all review at once, you may end up with repetitive or even conflicting comments. If you review one at a time, you can avoid repetition and solve any discrepancies before the feedback is shared with your writer.
FYI: In my experience, the only occasions where more than one person is necessary in the feedback process is when there are technicalities to be confirmed, like product specifics or wording around legalities.
Rule #7: Give kudos and show what works well!
There’s a lot of controversy around the idea of providing positive feedback just so you can make negative feedback feel less, well, negative. (Read more about it in No One Wants to Eat Your Compliment Sandwich.)
I agree with where the controversy is coming from: artificial compliments don’t do anyone any good. Give kudos to your writers because they have deserved it.
When you show your writer what works really well—and why—they’ll remember it as guidance for future assignments.
Here’s an example of my client’s positive feedback I recently got on a blog post:

This will show me what to aim for in my future blog post introductions for this client, and that’s incredibly valuable.
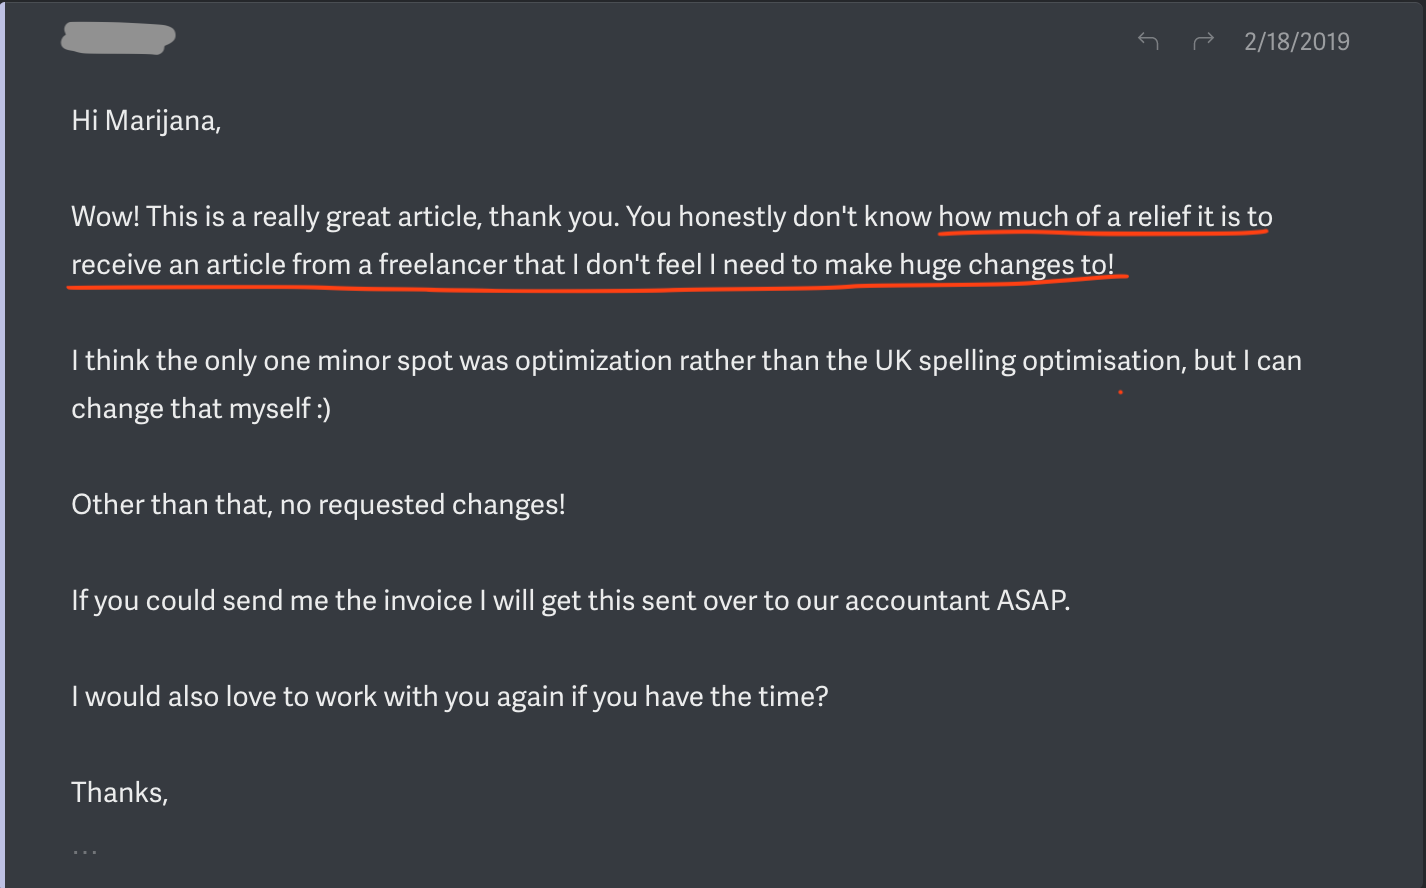
You can also do this on a larger scale and let your writer know you appreciate their work overall. This goes back to the relationship element of hiring your writer and being proactive in building and maintaining it.
Here’s an email from one of my clients I got a while ago—it shows an incredibly simple way to do this:
Go forth and give great feedback to your writers
I hope you take three things from this guide:
- Your writer wants you to trust them and be treated as your partner, not your employee
- Investing time in project prep (through style guides and briefs) will pay off in a huge way
- There are simple but powerful rules of efficient feedback you can stick to and streamline your content production process
Be sure to bookmark this post and share it with your team if you found it useful. Thanks for reading!
PS You can also pin this post so that you can easily refer to it later: